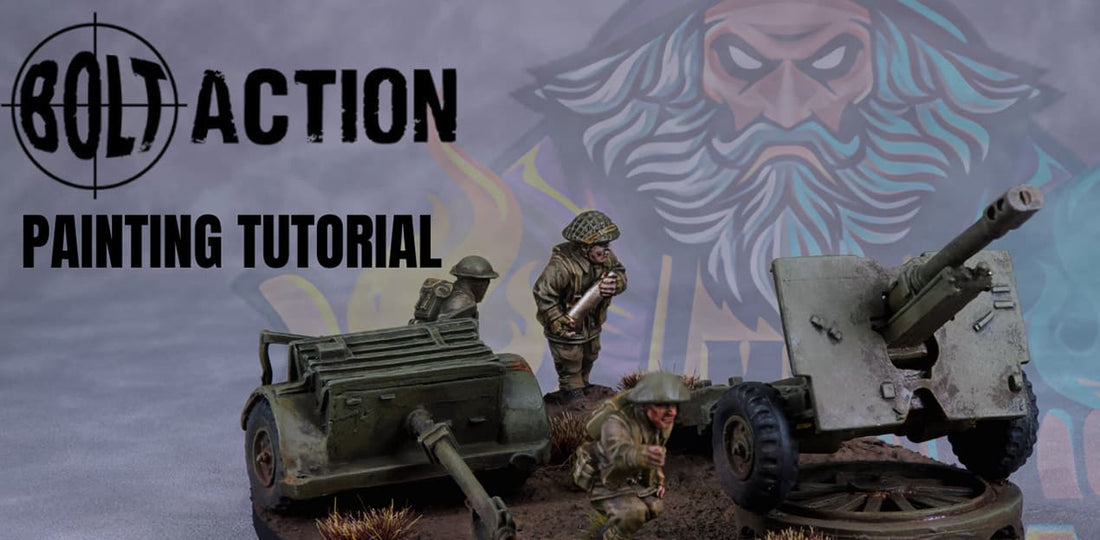
The British 25 Pdr was one of the most versatile and iconic artillery pieces of the Second World War, and it’s a fantastic addition to any Bolt Action army. In this tutorial we show you how to paint a WW2 British 25 Pdr gun and crew for Bolt Action, step by step. From base coats and washes to weathering, rust, and finishing touches, we’ll cover quick techniques that deliver gritty, realistic results on the tabletop.
Contents
- Full painting video
- Paints list
- Step by step guide
- Finished result
Full Video
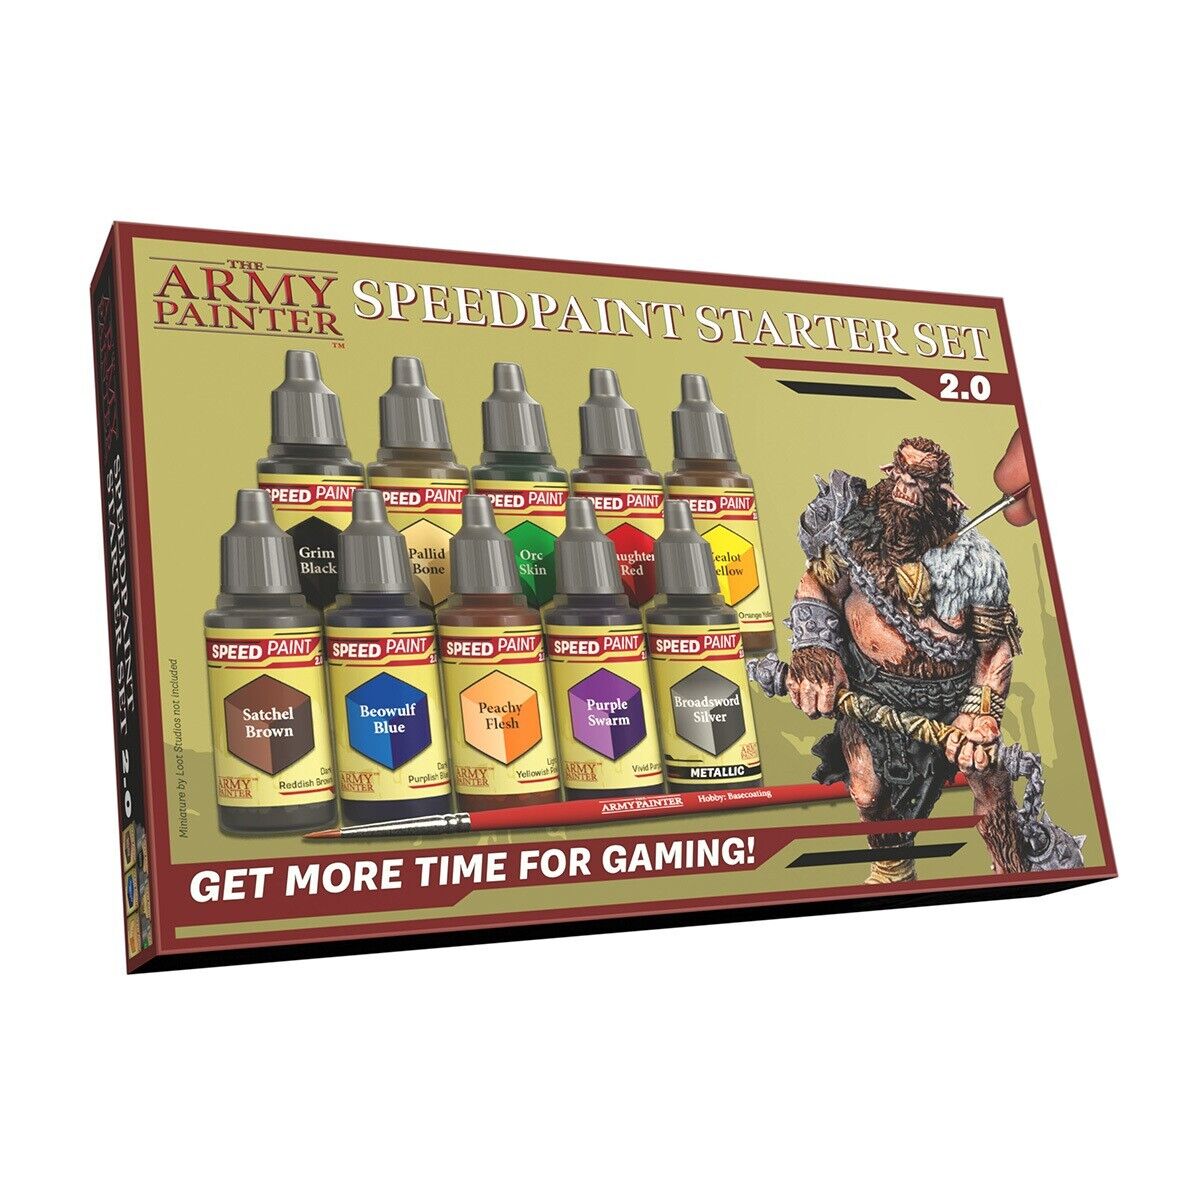
Paints used
Paints used
- Deathworld Forest (Citadel Base)
- Straken Green (Citadel Layer)
- Black Legion (Citadel Contrast)
- British Uniform (AK Quick Gen)
- Desert Sand (AK Quick Gen)
- Camel Brown (AK Quick Gen)
- Streaking Grime (Vallejo Weathering)
- Rust Effect (Dirty Down)
- Wraithbone (Citadel Base)
- Human Flesh (AK Quick Gen)
- Basic Skin Tone
Step by step guide
Painting the Gun
Step 1 – Base Coat
- Apply an even coat of Death World Forest (Citadel) over the entire
artillery piece. - Allow it to dry completely.
Step 2 – Highlight Texture
- Using a sea sponge, stipple on Straken Green (Citadel) to create a
textured highlight. - Alternatively, you can use dry brushing or stippling with a brush if you
prefer.
Step 3 – Wash
- Mix AK Interactive British Uniform 50/50 with a medium or thinner.
- Apply this as a uniform wash over the entire piece.
- Let it dry thoroughly.
Step 4 – Weathering Wash
- Thin down Streaking Grime (AK Interactive) by about 30%.
- Apply it across the whole miniature to add depth and grime.
Step 5 – Tires
- Paint the tires with either Black Contrast or a standard black paint of
your choice.
Step 6 – Dry Brush
- Once the previous layers are dry, dry brush Straken Green lightly across
raised areas to bring out detail.
Step 7 – Rust Effects
- Use Dirty Down Rust to add realistic rust spots.
- Focus on the wheel hub caps and select metal details on the artillery
piece.
Crew Painting Tutorial
Step 1 – Base Coat (Uniform)
- Apply British Uniform (AK Interactive) over the bulk of the soldier’s
uniform. - Let dry completely.
Step 2 – Webbing
- Paint the webbing with Desert Sand (AK Interactive).
Step 3 – Helmet
- Use the same green technique from the artillery piece:
- Base coat Death World Forest
- Stipple/Dry Brush Straken Green
- Wash with British Uniform mix
- Apply Streaking Grime
Step 4 – Boots
- Paint with Black Contrast or any black paint.
Step 5 – Skin
- Option A: Apply Human Flesh (AK Interactive) directly.
- Option B: Paint a thin layer of Human Flesh tone, then glaze/contrast
with flesh contrast paint for depth.
Step 6 – Wash/Weathering
- Apply the thinned Streaking Grime mix (30% thinner).
- Wick away excess enamel as needed.
Step 7 – Optional Highlight
- Mix Wraithbone with a tiny amount of the base contrast colour.
- Use this highlight tone sparingly on raised areas for natural contrast.
Finished Result