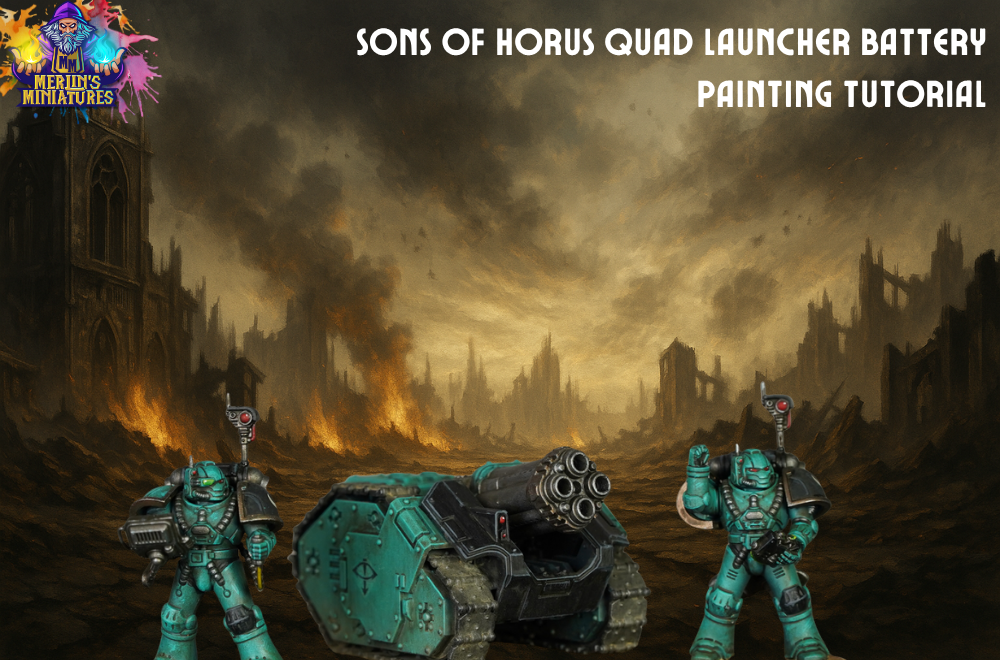
In this painting tutorial, we will be painting a Sons Of Horus Quad Launcher Battery for Warhammer The Horus Heresy. We go over how to paint a Grimdark scheme with loads of weathering for the Quad Launcher Battery, using a range of paints and techniques to make the model look striking on the table without spending huge amounts of time painting.
In this video, we used a mix of airbrushing base tones for speed. We also used stippling with a sponge to add texture and interesting highlights. As well as more traditional techniques like layering and edge highlighting.
Contents
- Full painting video
- Paints list
- Top tip from studio
- Step by step guide
- Finished result
Full Video
Paints used
Paints used
- Incubi Darkness - Citadel
- Pharoah Guard - Warpaints Fanatic
- Taliman Teal - Warpaints Fanatic
- Steel - Vallejo
- Noble Steed Brown - Two thin coats
- Bronze - Pro Acrylic
- Ratling Grime - Citadel
- Black Legion - Citadel
- Eshin Grey - Citadel
- Bold Titanium White - Pro Acrylic
- Mephiston Red - Citadel
- Streaking Grime - AK interactive
Basing
- Sandy Desert - AK Interactive
- Agrax Earthshade - Citadel
- Light Sienna Pigment - Vallejo
Top Tip from the Studio
Remember with the vehicles and tanks, there are so many angles and places you can’t get a brush to paint, but that also means people can’t see it. Try not to stress about areas of a miniature you cannot reach. Having a nice, strong shadow tone will help these areas blend into the final piece
Step by step process
This tutorial covers the full painting workflow for a Quad Battery Launcher, using the Sons of
Horus colour scheme. The goal is to create a cohesive and efficient painting process using smart base coating, contrast washes, and weathering techniques.
INSERT 3 IMAGES
1. Base Coating
- Start by applying base coats to the model before applying any washes.
- Purpose of a uniform wash:
- Ties all the colours together visually.
- Saves time versus washing individual sections.

Armour Base Colours
- Incubi Darkness: Applied as the primary shadow tone for armour. Works well for recesses and dark base shading.
- Pharaoh Guard (Warpaints Fanatic): Main tone for armour.
- Can be applied with a brush, airbrush, or heavy dry brushing.
- Talisman Teal (Warpaints Fanatic): Final highlight tone.
- Applied using the sponge method: Stipple small amounts across raised areas for texture and highlight.

2. Detailing the Model
Focus on simplifying minor elements while keeping visual clarity.
Browns and Blacks
- Noble Steed Brown (Two Thin Coats): Used for all brown parts like straps or pouches.
- Black Legion Contrast: Used on black areas for speed and efficient coverage.
Metallics
- Vallejo Steel: Applied to silver parts.
- Pro Acryl Bronze: Used for trim and specific areas on the Quad Launcher to add visual interest.

3. Initial Washes
- Apply a targeted contrast wash before the overall wash:
- Mix of Rattling Grime + Lahmian Medium in a 70:30 ratio.
- Applied to metallic sections for depth and grime effect.
4. Small Detail Highlights
- For small elements like lenses:
- Base with white.
- Add strong contrast paint over the top to give quick highlights and coloured depth.
5. Uniform Wash (Enamel Weathering)
- Apply AK Interactive Streaking Grime as an all-over enamel wash.
- Thinned by 30% using Winsor & Newton’s Artist Spirits (or any white spirit).
- Let dry for 30–60 minutes.
6. Wicking Off the Wash
- Use a slightly damp beauty blender or makeup sponge to gently remove parts of the enamel wash.
- Focus on raised areas.
- You can control how much to remove to create varied weathering effects.
- This stage adds a rich, realistic grime effect and depth to the miniature.

7. Final Touches (Optional)
- Use the lightest base tone from earlier stages for edge highlights or stippling.
- Optional, but adds polish and professionalism.
- Focus on edges and points of interest; adding a white lens dot can be an easy way to add interest.
8. Basing the Model
- Match your base with your army's overall theme.
- This step ties the model into your force and completes the presentation.
The Finished Result
By following this process, you can achieve a high-quality, Sons of Horus-themed model that looks cohesive and realistically weathered, without investing excessive time into intricate detail painting for each element.