If you’re new to painting Warhammer miniatures, the sheer number of Citadel paints can feel a bit overwhelming. What do names like “Base,” “Technical,” and “Contrast” actually mean? Don’t worry—I’ve been there too. Let me walk you through the basics so you can get started with confidence.
Citadel Base Paints
Base paints are the foundation of your miniatures—think of them as your starting point. Use them to block in the main colours after priming your model. They give you a solid… well, base to build on.
Top Tip:
Thin, even coats are the way to go. Trust me, slapping on one thick layer will only hide those lovely details that make your miniatures pop.
Citadel Layer Paints
Layer paints are your go-to for adding depth and highlights. They’re slightly thinner than base paints, making it easy to build up colour or create smooth blends.
Top Tip:
Grab a smaller brush for precision work and thin your paints with a tiny bit of water—it’ll make all the difference.
Citadel Contrast Paints
Contrast paints are like magic in a bottle, especially for beginners. They’re designed to work as a base, shade, and highlight all at once, flowing into the recesses of your model to create instant depth and detail.
That said, they work best over light or neutral primers like Wraithbone or Grey Seer. The base colour you use will influence the final look, so don’t be afraid to experiment—but maybe not on your favourite model straight away.
Top Tip:
Test them on a spare bit of sprue first. You’ll get a feel for how they behave without any pressure.
Start here: Watch this video for some great tips.
Citadel Shade Paints
Shade paints (sometimes called washes) are the secret sauce of miniature painting. They’re super thin and settle into the recesses, adding shadows and making details stand out. A quick shade application can completely transform your miniature.
Top Tip:
Don’t overdo it! Apply shades carefully and avoid letting them pool in unwanted areas. If you make a mistake, just dab it with a clean brush while it’s still wet—it’s an easy fix.
Citadel Dry Paints
Dry paints are perfect for dry brushing, a technique that highlights raised details. This is great for textured areas like fur, chainmail, or stone. Whether you do this after your base coat or later in the process is up to you—it depends on the look you’re going for.
Top Tip:
Here’s a biggie: less is more. Wipe most of the paint off your brush before you start. Honestly, this one’s worth repeating—less is always more with dry brushing.
Citadel Technical Paints
These are where the fun really begins! I remember being blown away when I first discovered them. Technical paints let you add effects like mud, blood, or rust, taking your models to the next level.
Examples include:
• Typhus Corrosion for a grimy, rusty look.
• Blood for the Blood God for realistic blood effects.
• Astrogranite for textured bases to match your army’s setting.
Top Tip:
Use these sparingly to enhance your model, not overwhelm it. (Unless it’s an Ork covered in mud—then, the messier, the better!)
Citadel Air Paints
These paints are pre-thinned and made for airbrush use. They’re ideal for smooth gradients, subtle transitions, or painting large models like tanks and monsters quickly.
Where to Begin
Feeling less intimidated now? Start with Base, Layer, and Shade paints—they’re enough to get you going. As you grow more confident, you can explore Contrast paints for speed or Technical paints for extra flair.
Painting miniatures isn’t just about the results; it’s about having fun and learning as you go. So, grab your brushes, take your time, and enjoy the process. You’ve got this!
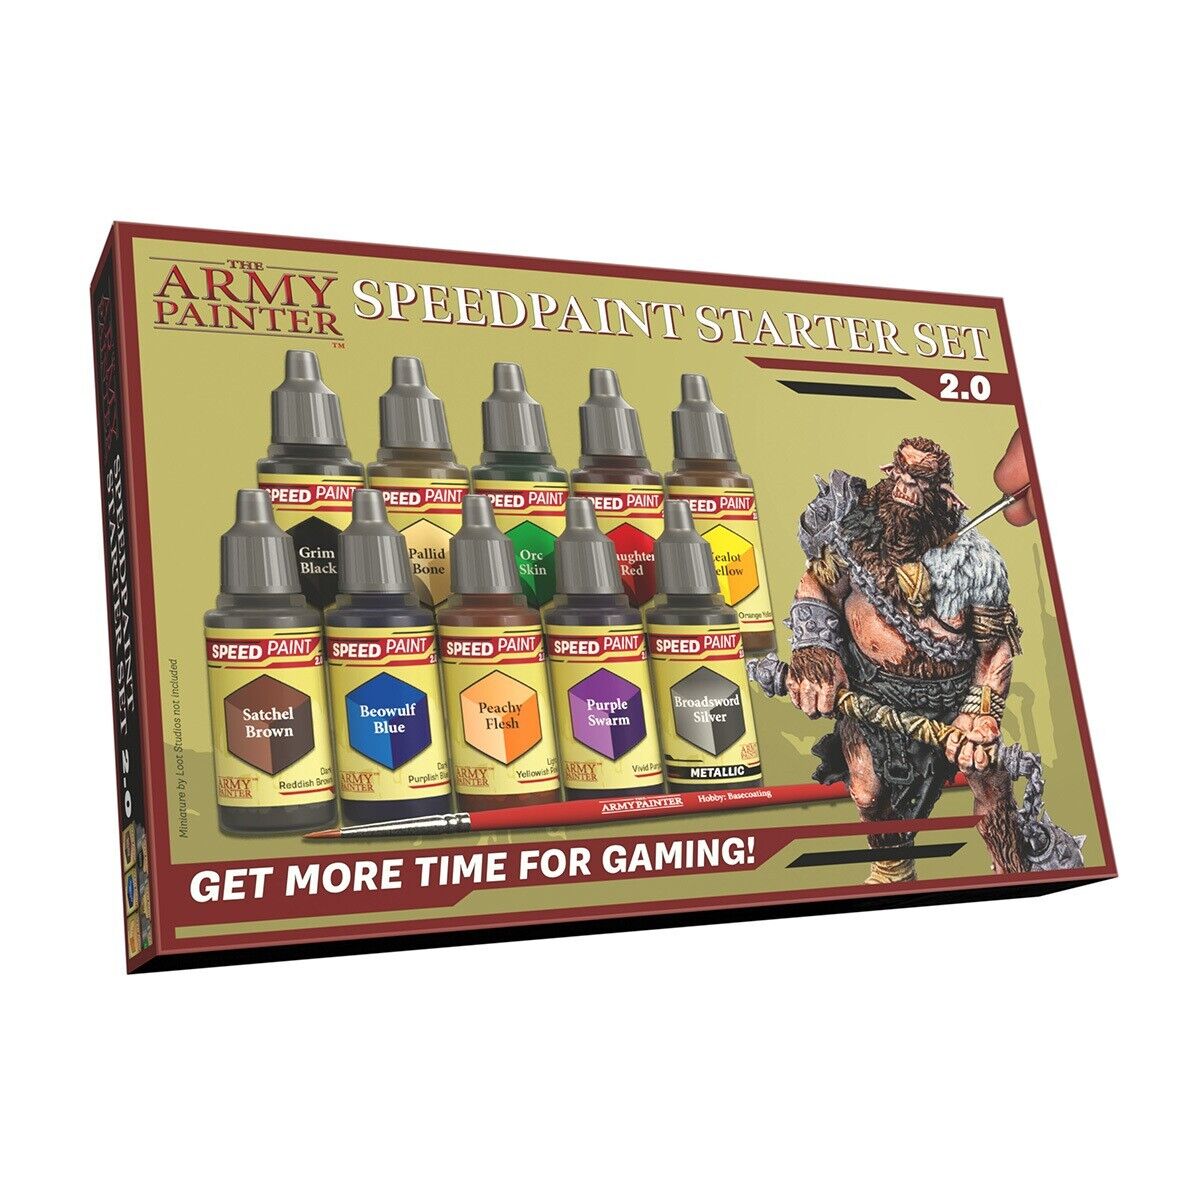
Looking to buy paints? We stock a wide range including:


